Time flies - I just wanted to finish something, and it's almost midnight.
We had some problems with electricity yesterday. Few weeks ago, the wall socket in the bathroom burned out. Well, not really, but my wife reported strange smell when using the washing machine. It wasn't your typical burning smell, it was more like ironing a perfumed piece of clothing. As a quick hack, I asked my wife to use an extender cord. However, the other circuit did not handle a water kettle and the washing machine at the same time, and breakers went off.
I am using an old central node designed few years ago. The new, Arduino Due based central node I am working on is supposed to replace this old central node.
The old central node has a problem I was aware of, but wasn't able to debug so far. Sometimes, it simply hangs after being powered up, or stutters in the main loop. I noticed that before, but the problem went away when I attached the debugger. This time, it didn't, and first debug output suggested the central node isn't getting the IP address via DHCP. A few tests suggested the MAC address isn't unique, and router refuses to assign new IP. I am still not sure what caused this, probably a router problem. I'll keep an eye on it and if it happens again, I'll generate random MAC on every start or something.
Next thing I worked on this evening was making the RasPi log all the sensor node packets into a file. It was pretty simple, and works fine so far. I want to see what exactly is happening with the meteo node in the evening.
The meteo node was also modified to report the correct voltage of the goldcap that powers it. I assume the sensor are eating too much of juice, and the whole thing will need some optimization. Not a big deal, I was planning on running this from battery anyway, but - well, if it can be solar powered, even better!
čtvrtek 19. března 2015
středa 18. března 2015
Goldcaps? Goldcaps!
As promised yesterday, some new toys that arrived recently. I got some solar panels - those are 4.5V and 5V rated ones. The 5V one can actually put over 5.6V on a really bright sunlight, which is - after dropping 0.2V of the forward voltage of a Schottky diode - close to the 5.5V rating of the goldcap, so I am using the 4.5V panel. Then, there are two goldcaps, 1F/5.5V and 22F/2.3V, and finally a sealed lead-acid accumulator, 6V/4Ah.
First thing I tried was a few experiments with the goldcaps and solar panels, of course. I just added the BAT54 Schottky diode and used my incadescent lamp to generate some electricity. The voltage went up nicely and I was watching the 22F goldcap charging - sweet! After removing the light, the voltage begun to drop quickly, and it looked like the self discharge of the goldcap is that high that it won't hold the charge for more than just a few minutes!
After looking up more info on web, I realized that a goldcap is really behaving like that - the charge slowly trickles in and it takes some time for it to reach all the parts of the golcap. To prove that, I let the goldcap with attached panel charge all the day on the balcony. It got charged to 1.9V, and after more than a day, the voltage dropped to 1.78V only. Much better!
I used the 5.5V goldcap with the meteo node. It worked over day, but after nightfall, the voltage dropped pretty quickly and the node only worked for a few hours. I need to create a monitoring and logging tool that isn't dependant on my computer working all the time. Hmmm, a good application for RasPI! If nothing else, I know it works with RF24 *evil grin*.
That's all for today, I need to make plans for further steps. One of them will be finding the best way how to put the solar panels (the 9V ones I have) on the balcony, on a direct sunlight, avoiding my wife's flowers and plants, and the sunshades she puts over the flowers on hot days. That's the trickiest thing.
First thing I tried was a few experiments with the goldcaps and solar panels, of course. I just added the BAT54 Schottky diode and used my incadescent lamp to generate some electricity. The voltage went up nicely and I was watching the 22F goldcap charging - sweet! After removing the light, the voltage begun to drop quickly, and it looked like the self discharge of the goldcap is that high that it won't hold the charge for more than just a few minutes!
After looking up more info on web, I realized that a goldcap is really behaving like that - the charge slowly trickles in and it takes some time for it to reach all the parts of the golcap. To prove that, I let the goldcap with attached panel charge all the day on the balcony. It got charged to 1.9V, and after more than a day, the voltage dropped to 1.78V only. Much better!
I used the 5.5V goldcap with the meteo node. It worked over day, but after nightfall, the voltage dropped pretty quickly and the node only worked for a few hours. I need to create a monitoring and logging tool that isn't dependant on my computer working all the time. Hmmm, a good application for RasPI! If nothing else, I know it works with RF24 *evil grin*.
That's all for today, I need to make plans for further steps. One of them will be finding the best way how to put the solar panels (the 9V ones I have) on the balcony, on a direct sunlight, avoiding my wife's flowers and plants, and the sunshades she puts over the flowers on hot days. That's the trickiest thing.
úterý 17. března 2015
Back from vacation
I took a break, partly due to high workload at work, partly due to a short trip to my family. I did enjoy it, and even enjoyed driving that tiny, brand new Ford Fiesta I got from Hertz. That was a nice surprise, I paid for Ka, and got Fiesta.
Last two evenings before the departure (well, not exactly, last two evenings were mostly about packing, planning the trip, getting the Google Maps working on my phone etc etc).. what was I talking about? Oh yes. Last two evenings before the departure were about making the RFM12B work with Due. I finally decided on removing the display, and the freed SPI port is now used for RFM12B. I started porting the library to Due, but that turned out to be pretty complex task, as the library uses various bits and pieces specific for AVR (like EEPROM etc.) and I gave up pretty quickly as I had that feeling of reinventing the wheel. I took the library from Boredomprojects and first tests looked really promising, it could talk to Arduino running the latest version of Jeelib.
Happy about the progress, I tried to send a broadcast message to my already existing devices with RFM12B - and... well, nothing happened. After some debugging, I figured out two things that were wrong:
- the existing devices use old version of the library. New version adds one byte in the header for destination or source address
- the new library initializes the RFM12B to a different speed
After fixing those two problems - nothing happened. I tried all I could think of, but the Due running new library with my patches still doesn't talk to the old devices. The packet seems to be correct, the CRC matches, the channel and speed is the same... I gave up for the moment as I had no time to pursue that. I'll debug the init sequence using my good old Saleae clone and see if there are any differences.
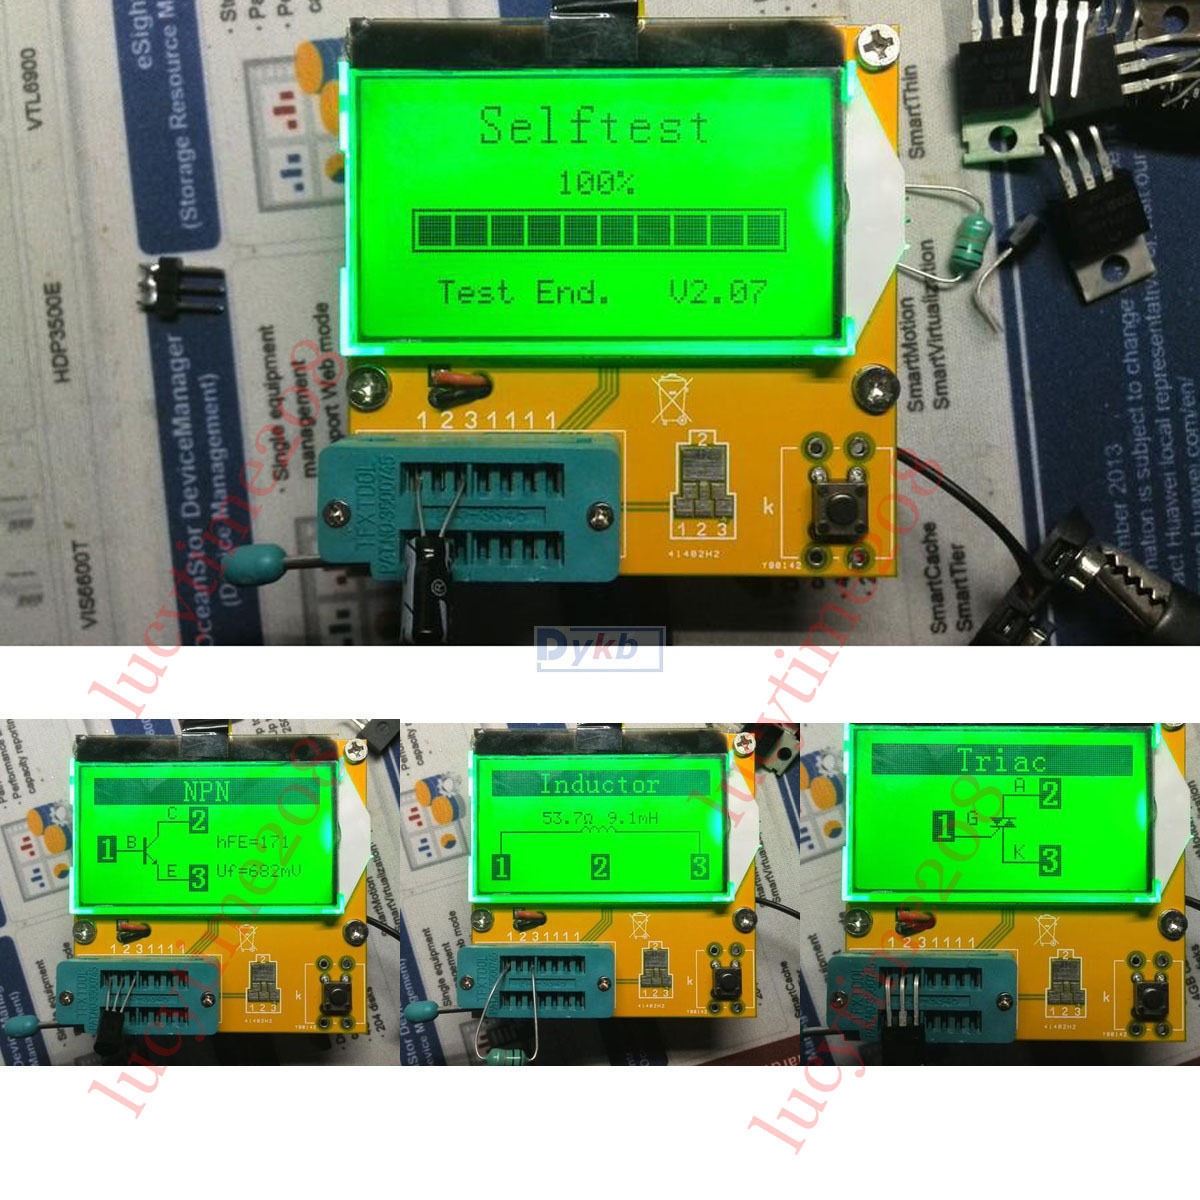
In the meantime, I received a whole bunch of new stuff. The most interesting things are some goldcaps, solar panels, LCR meter, RF24 modules with antenna, partly dead MX510 mouse (as a spare part donor for the mouse I am using for years), and other small stuff. I should do an unboxing video one day :)
I did some experiments with the goldcaps, and I'll put together some more info in upcoming days.
Last two evenings before the departure (well, not exactly, last two evenings were mostly about packing, planning the trip, getting the Google Maps working on my phone etc etc).. what was I talking about? Oh yes. Last two evenings before the departure were about making the RFM12B work with Due. I finally decided on removing the display, and the freed SPI port is now used for RFM12B. I started porting the library to Due, but that turned out to be pretty complex task, as the library uses various bits and pieces specific for AVR (like EEPROM etc.) and I gave up pretty quickly as I had that feeling of reinventing the wheel. I took the library from Boredomprojects and first tests looked really promising, it could talk to Arduino running the latest version of Jeelib.
Happy about the progress, I tried to send a broadcast message to my already existing devices with RFM12B - and... well, nothing happened. After some debugging, I figured out two things that were wrong:
- the existing devices use old version of the library. New version adds one byte in the header for destination or source address
- the new library initializes the RFM12B to a different speed
After fixing those two problems - nothing happened. I tried all I could think of, but the Due running new library with my patches still doesn't talk to the old devices. The packet seems to be correct, the CRC matches, the channel and speed is the same... I gave up for the moment as I had no time to pursue that. I'll debug the init sequence using my good old Saleae clone and see if there are any differences.
In the meantime, I received a whole bunch of new stuff. The most interesting things are some goldcaps, solar panels, LCR meter, RF24 modules with antenna, partly dead MX510 mouse (as a spare part donor for the mouse I am using for years), and other small stuff. I should do an unboxing video one day :)
I did some experiments with the goldcaps, and I'll put together some more info in upcoming days.
sobota 7. března 2015
Barbie bed
I felt like doing something else today, I definitely need a break and think about further updates of the central node. I was asked to build a bed for Barbie and her friend, so here it is. The frame is made of plywood, my wife provided the fabric, and the mattress from soft foam material I found somewhere, it was originally part of keyboard packing or something like that.
I used my old good Proxxon table saw. The saw is fastened to a little plank of wood by four screws, and then the plank is fastened to the table with two clamps. To cut big pieces of plywood more or less rectangular, I made a bigger working are of plywood and some squared timber. It's not perfectly rectangular, and has other problems, but with a bit of effort, the results are at least satisfying.
The frame slides along the saw table, and helps me to make long and straight cuts. Unfortunately, this whole arrangement only allows me to cut plywood not thicker than 5-6mm, but it's still a major help.
I also made another attempt on the high voltage power supply for GM counter. The results are even worse than the previous attempt, and I am wondering why. I ordered some 9.1MOhm SMD resistors, and next attemp will use SMD transistors, the same I used for the very first supply.
Some minor changes were done to the central node code as well, but nothing major. I started to look into the available libraries for RFM12B that could be used with Due. I found one, using SPI port, but I am a bit skeptical about it - plus, of course, I have no free SPI CS pins. However, I am considering getting rid of the display, and if nothing else, I can just convert an existing library to use SW SPI.
Why removing the display? First, I am not sure how useful it will be in final product. It is pretty useful now, but the nRF24L01 modules have quite short range, and even with 250kbps, the signal doesn't make it through walls to the bathroom. To overcome this, I am considering putting the central node to more central location in the appartment, but then the display will be useless. Second, as clearing the screen takes over 100ms, it would greatly impact the response time of the RF24Network, eventually losing packets randomly, and I don't like that idea.
I used my old good Proxxon table saw. The saw is fastened to a little plank of wood by four screws, and then the plank is fastened to the table with two clamps. To cut big pieces of plywood more or less rectangular, I made a bigger working are of plywood and some squared timber. It's not perfectly rectangular, and has other problems, but with a bit of effort, the results are at least satisfying. 
I also made another attempt on the high voltage power supply for GM counter. The results are even worse than the previous attempt, and I am wondering why. I ordered some 9.1MOhm SMD resistors, and next attemp will use SMD transistors, the same I used for the very first supply.
Some minor changes were done to the central node code as well, but nothing major. I started to look into the available libraries for RFM12B that could be used with Due. I found one, using SPI port, but I am a bit skeptical about it - plus, of course, I have no free SPI CS pins. However, I am considering getting rid of the display, and if nothing else, I can just convert an existing library to use SW SPI.
Why removing the display? First, I am not sure how useful it will be in final product. It is pretty useful now, but the nRF24L01 modules have quite short range, and even with 250kbps, the signal doesn't make it through walls to the bathroom. To overcome this, I am considering putting the central node to more central location in the appartment, but then the display will be useless. Second, as clearing the screen takes over 100ms, it would greatly impact the response time of the RF24Network, eventually losing packets randomly, and I don't like that idea.
čtvrtek 5. března 2015
Meteo node II
I'm reporting some progress on the meteo node today. It worked more or less on first power on - with the exception of the RF24 not working at all, but the problem was easy to discover - swapped pins MISO and SCK! I don't get how could I make that mistake as I was following the table, and I am sure I counted the pins right. Anyway, after fixing that, all worked just fine.
The node still misses the battery measurement support, but I am going to leave it out until I know what kind of battery I am actually going to use. The voltage divider will depend on if I am going to power it from AA cell, LiIon cell or something else. I ordered some samples of step-up converter from Linear, which could be used, and I am considering those MCP1640 from Farnell (they're still the cheapest), but that needs some testing first.
The high voltage capacitors finally arrived from Austria - sheesh, it took more than a week to get them shipped and delivered, and given the S/H price... I just hope they're any good, or else I ended up with 200 pieces of junk. They're surprisingly small for 1KV 10nF capacitors. Anyway, I'll see if I find some time this weekend to build - yes, you guessed - yet another HV power supply for GM tubes. In fact, I am thinking about putting together the not-so-common components and offer it on eBay for some reasonable price, saving people from hassle of getting bits and pieces here and there. I have a load of MPSA42 transistors, 10nF capacitors, 10mH inductors, fuse holders etc etc.
The lead accu I ordered month ago still did not arrive, and eBay returned me the money. I ordered some goldcaps today, and will do further experiments with them. I'll get two 22F/2.3V ones that could be great if I'll manage to make the step up converters working.
The node still misses the battery measurement support, but I am going to leave it out until I know what kind of battery I am actually going to use. The voltage divider will depend on if I am going to power it from AA cell, LiIon cell or something else. I ordered some samples of step-up converter from Linear, which could be used, and I am considering those MCP1640 from Farnell (they're still the cheapest), but that needs some testing first.
The high voltage capacitors finally arrived from Austria - sheesh, it took more than a week to get them shipped and delivered, and given the S/H price... I just hope they're any good, or else I ended up with 200 pieces of junk. They're surprisingly small for 1KV 10nF capacitors. Anyway, I'll see if I find some time this weekend to build - yes, you guessed - yet another HV power supply for GM tubes. In fact, I am thinking about putting together the not-so-common components and offer it on eBay for some reasonable price, saving people from hassle of getting bits and pieces here and there. I have a load of MPSA42 transistors, 10nF capacitors, 10mH inductors, fuse holders etc etc.
The lead accu I ordered month ago still did not arrive, and eBay returned me the money. I ordered some goldcaps today, and will do further experiments with them. I'll get two 22F/2.3V ones that could be great if I'll manage to make the step up converters working.
středa 4. března 2015
Meteo node
After that experiment yesterday that helped me to confirm that I can safely use DHT22 for temperature measurement, I started to work on the meteo node. It's not tested (my wife needed some changes on her blog that took me some time to figure out), but it already is getting shape. The white thingy is the DHT22 sensor, the small bluish one is BMP180 module. I found out the module actually had 3.3V LDO so I had to remove it, that's why you can see some missing components, and the wire on it. I was originally planning on powering the whole thing from 18650 LiIon accu, but I can't find the holders I bought some time ago. CR2032 was the second choice, but that probably won't work for DHT22 as it is specified for 3.3-6V, and according to some into on web, it starts to show erratic behaviour under 3V. I'll try a step up booster and power the thing from one AA battery. I wanted to order some MCP1640 chips, so this is a good time to do so. Farnell has them for nice 41 cents when ordering 10 pieces... just the shipping price is way too high, so I'd better think of some other stuff I need before I make the purchase. Anyway, the CR2032 should do for the moment.
There is a few things that are still missing - the battery voltage measurement, and I should probably switch off the sensors when Arduino is sleeping to conserve power. The DHT22 draws something like 40uA when idle, which is pretty much a lot of power. Now the question is, how to do that? Using a PNP transistor as a high side switch should work, but I am a bit worried of the voltage drop on it. Of course that would not work at all with CR2032 (that's why I did not add this to the node yet). Another option is to power the sensor from the Arduino digital pin. That should be pretty easy, but again, I am not sure about the voltage. The safest would be to use something like 3.5V for Arduino, which should be fine for all other devices, like the NRF24L01, and still give a plenty of headroom for powering the sensors. Time to do some measurement tomorrow!
úterý 3. března 2015
Temperature sensors precision
I was always curious how much can I trust various types of temperature sensors. I loved the TI's TMP100, tiny I2C based sensors, and used them a lot before. In one project, I got a feeling that the sensors are actually lying to me, and I became a bit cautios. I later abandoned them in favor of DS1820 style sensors, and the few remaining TMP100's were resting in the box. As I recently got the DHT22 that also has temperature sensor, I felt like I should really take a look at various sensors and compare their readings. The results are interesting.
First thing first - the contestants are:
As always, I took Arduino, attached LCD display to it and all three sensors, using sample code from Arduino libraries. I did not see any example for TMP100, but Google suggested the Fork Robotics page, and the example described on that page worked just fine. I do not offer the code for download, it's a big mess, and throwing it together took me about ten minutes anyway.
The results are interesting, and reassuring me I can use any kind of sensor without risking the temperatures being too different compared to any other sensor. In other words, I can use the DHT22 for the meteo node, and trust the temperature. There is no need for an additional DS18xx sensor on that node.
I tweaked the code for the central node a little, nothing important. I am considering a change of the packet definition, making just a single structure that will use anonymous structures and unions to describe any kind of sensor packet. I am still not sure if there are any drawback other than the obvious one (prone to mistake). Just to explain what do I mean:
First thing first - the contestants are:
- TMP100 - I2C based sensor from TI in SOT23-6 package
- DS1820 (and similar ones) - 1-Wire based sensor from Dallas / Maxim
- DHT22 - sort of one-wire protocol, temperature and humidity, based on AM2302
As always, I took Arduino, attached LCD display to it and all three sensors, using sample code from Arduino libraries. I did not see any example for TMP100, but Google suggested the Fork Robotics page, and the example described on that page worked just fine. I do not offer the code for download, it's a big mess, and throwing it together took me about ten minutes anyway.
The results are interesting, and reassuring me I can use any kind of sensor without risking the temperatures being too different compared to any other sensor. In other words, I can use the DHT22 for the meteo node, and trust the temperature. There is no need for an additional DS18xx sensor on that node.
I tweaked the code for the central node a little, nothing important. I am considering a change of the packet definition, making just a single structure that will use anonymous structures and unions to describe any kind of sensor packet. I am still not sure if there are any drawback other than the obvious one (prone to mistake). Just to explain what do I mean:
typedef union {This allows me to directly refer to PacketType, BattLevel etc. without 'going into' the Temp structure. Arduino supports this, at least the 1.5.8 version.
SensorPayloadTemperature_t Temp;
SensorPayloadMeteo_t Meteo;
struct {
uint8_t PacketType;
uint8_t BattLevel;
uint8_t ___pad[2];
uint16_t SensorId;
};
} SensorPayload_t;
Přihlásit se k odběru:
Příspěvky (Atom)